Self-Shooting Video Tips: Record Yourself at Home
We are in unsettling and ever-changing times but, here at Croft TV, our aim is to keep business as close to normal as possible as I’m sure yours is too!
It’s all about adaptability.
So if you need a message to be created or a presentation captured and hiring a professional film crew is not possible, have you thought about shooting it yourself?
We have created an easy to follow guide below, outlining steps to make sure your production is as high quality as possible.
Once you’ve shot it, send it to us and let us do our magic. This could take the form of professional editing, cleaning up your audio, grading, adding music, slides, captions & graphics, animations and much more.
If you have any questions or would like to discuss a project, let’s have a chat!
We hope you enjoy our guide and if you find it useful please share it!
Don’t have time to read the whole guide right now? That’s no problem, just click the download link and you can read it at a time that is convenient for you.
These days it seems like everything has a camera in it; computers, phones, even doorbells! We have listed these recording devices below (except doorbells of course) from most to least ideal, taking into account both quality and ease of use.
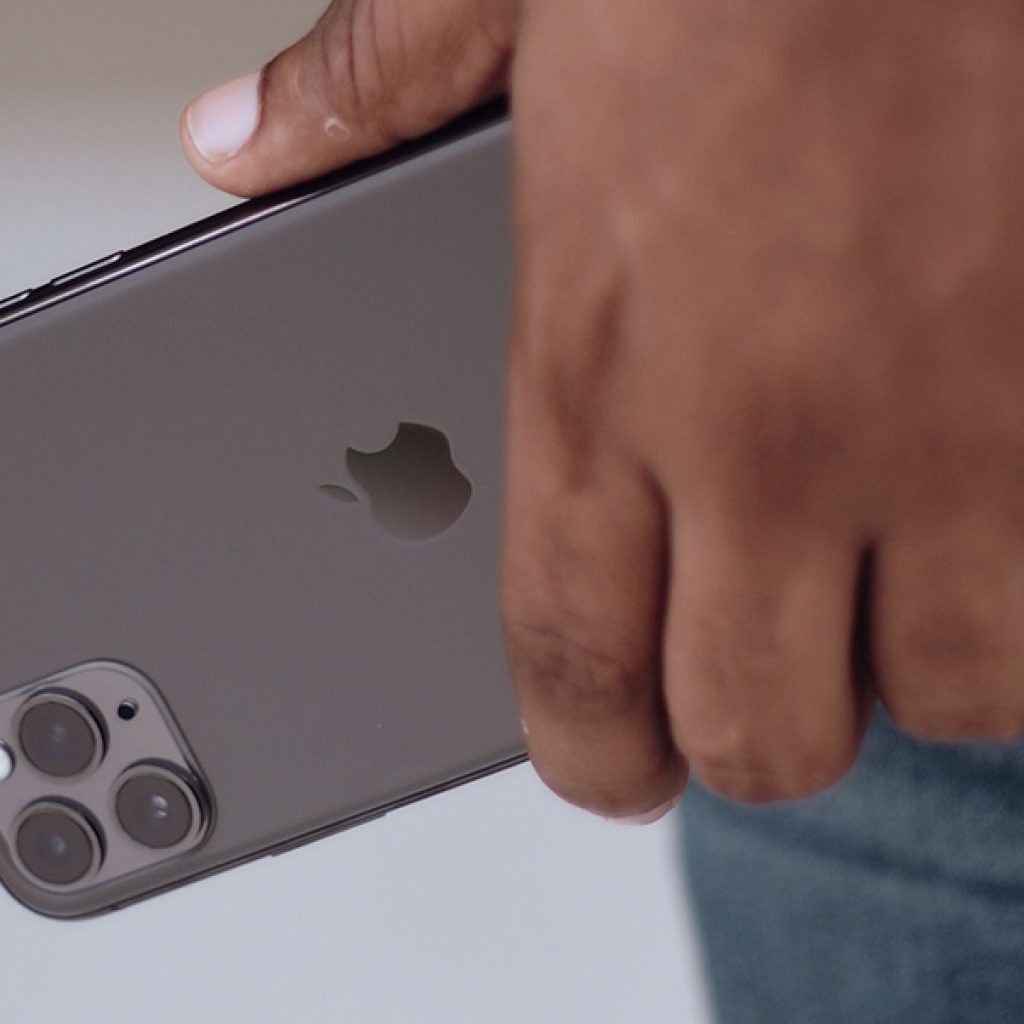
1. Mobile phone: This might be your best bet. The camera quality on modern phones is fantastic, the inbuilt microphone is good, people are very comfortable using them and this device does not require any additional software, just hit record and you’re away!
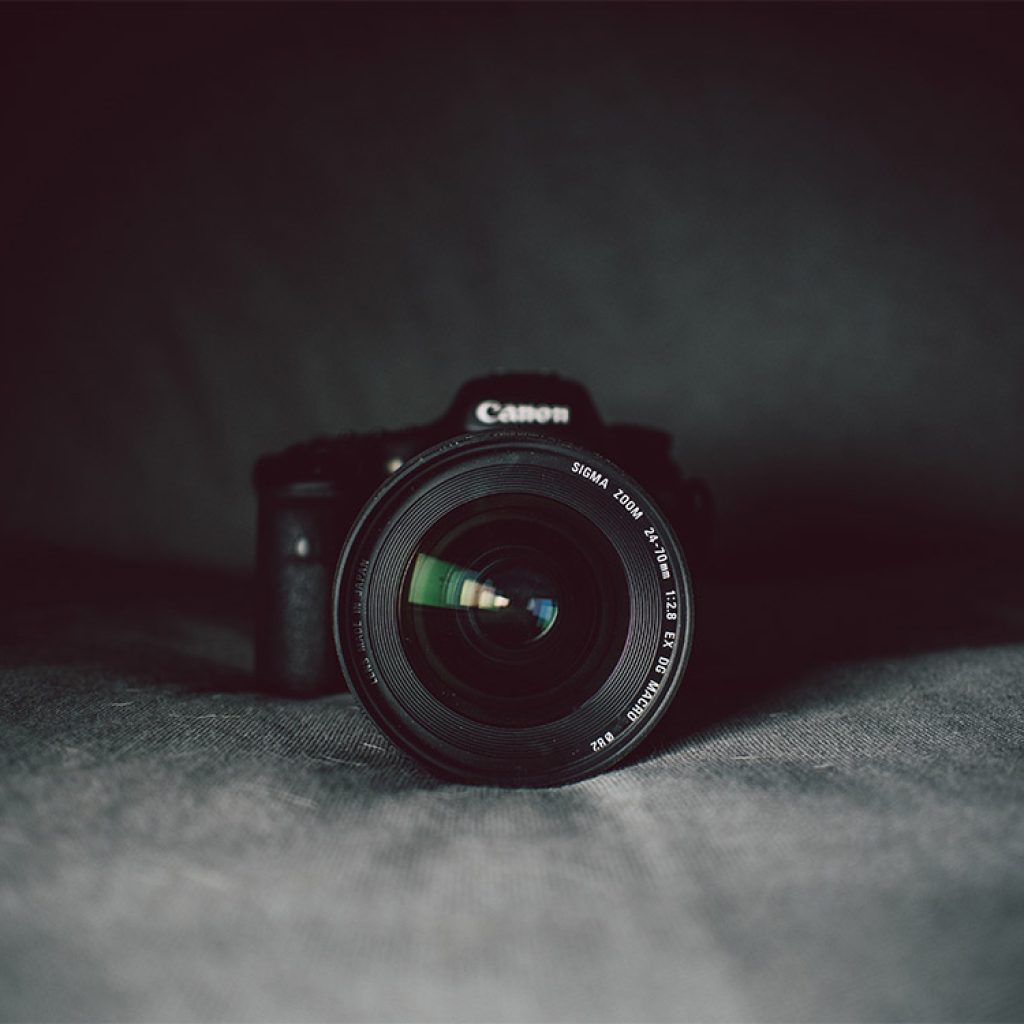
2. Traditional camera: If you have access to a traditional camera such as a DSLR, that’s great! A traditional camera will most likely produce the best video results, though it may not be as straight forward to set-up and use as a mobile phone.
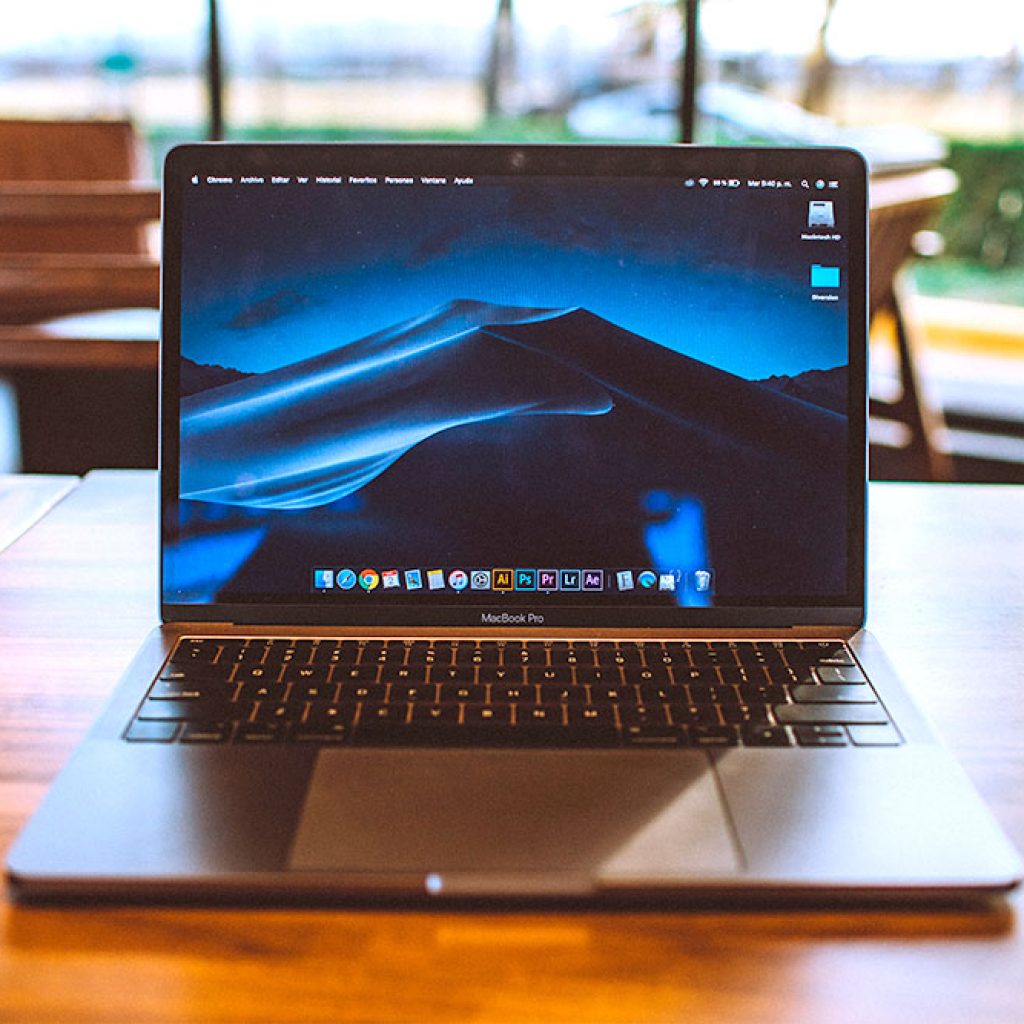
3. Computer: If your computer has an inbuilt webcam and microphone, the quality will be more than useable but this is the least ideal option as it requires additional software to record the footage from the camera, adding another level of complexity for you.
Audio is an often overlooked and extremely important element of video. The following points will outline how you can maximise the quality of your audio.
1. Distance from source: The idea here is to get the audio source as strong as possible, which means getting as close to the mic as you can/is comfortable. This is a balancing act, obviously if your DSLR, mobile phone etc. has an inbuilt microphone you won’t want to be so close that it ruins your shot. On the flip side, too far away and people will barely be able to hear you.
On our side there are mastering tools that we employ that will make your audio sound the best it can so don’t fret if it isn’t perfect. Though, it’s still important to remember that the better the quality of the recording, the better the end result will be.
If you have an external microphone, even better! These plug into your recording device and will most likely produce better audio quality as they allow you to get the mic as close to your mouth as possible, independent of where the camera is setup (up to the length of its cable).
External microphones increase audio quality, but can be complicated
2. A nice quiet room: It speaks for itself, but the quieter your environment the stronger the signal from your voice will be. The quality of your audio will be significantly improved by lessening the number of distractions.
3. Minimise echo: Exterior noise is not the only audio consideration when picking a location to shoot in; echo can also be detrimental to the quality of your audio. Empty rooms can become echo chambers as you’ve probably noticed if you’ve ever moved house. So if you can, choose a room that is carpeted and furnished.
A furnished room is great for echo suppression
Already mentioned in the audio section, location has a couple of additional considerations when you are picking a place to film in.
1. A bright location: A bright environment will go a long way in increasing the quality of your video. Try and utilise artificial lights and windows to increase the light on your face. Though if possible, try not to shoot using the window as a background, make sure the light is angled onto your face rather than behind it.
2. Background: Utilising a nice background also helps up that quality! Plain walls are great, or desk set-ups, the simpler the better really. Just make sure it is neat and tidy!
Simple backgrounds work great!
This section, more than any other, has the potential to become extremely complicated but our goal with this guide is to get everyone self-shooting, even if you are an absolute beginner, so we’ve boiled down the subject matter into 4 main points.
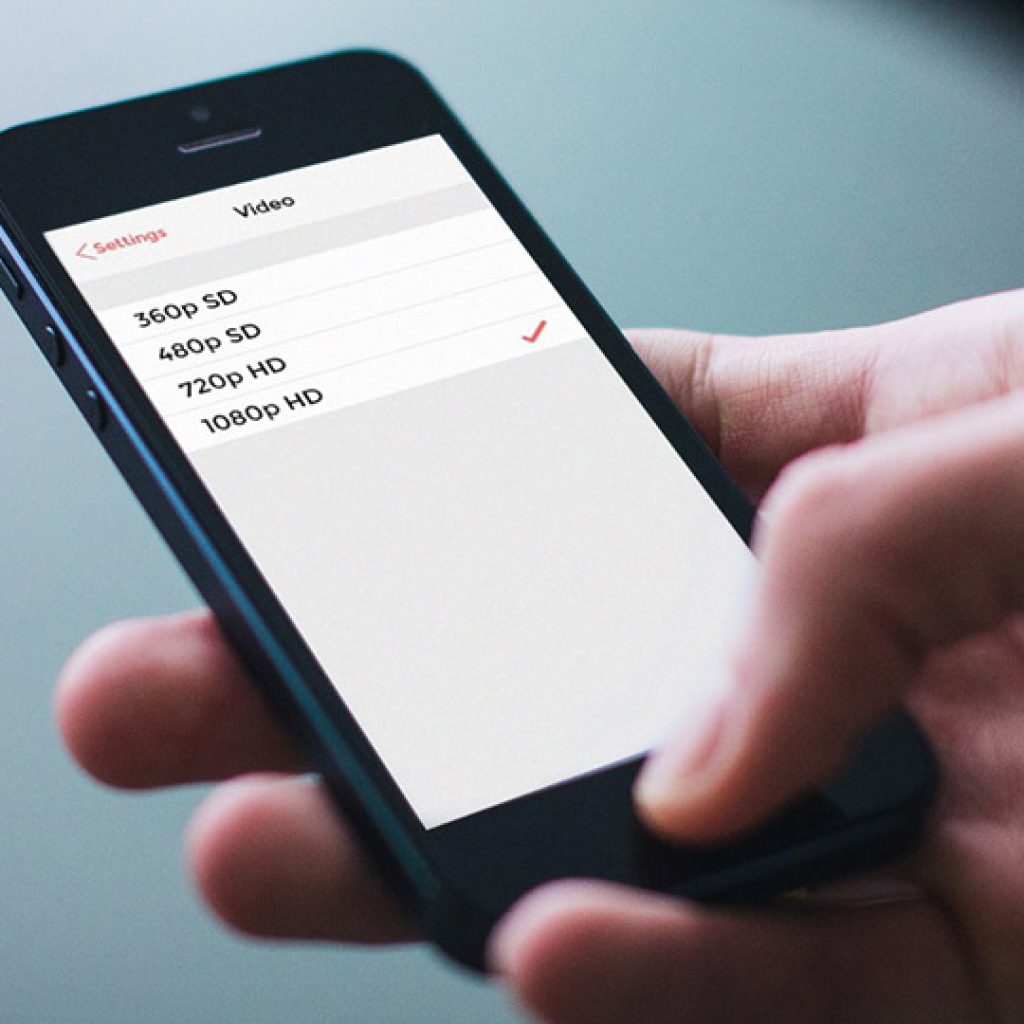
1. Set your camera to shoot in 1080p HD or 4K: Whatever device you are shooting with, you want to make sure you are recording in at least high definition. If this is not possible then the next best possible quality. You’ll find these options in your device/camera settings.
Set your camera to shoot in 1080p HD
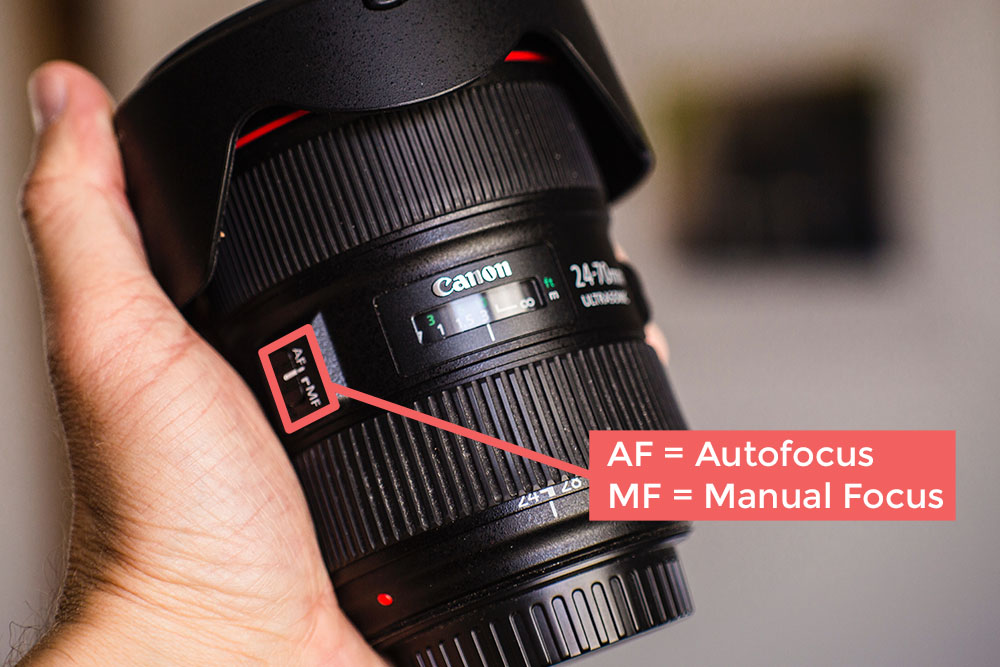
2. Set your camera to autofocus: This step is only relevant to self-shooters who will be using a traditional camera. This option might be in the camera’s settings or simply a switch on its lens. Mobile phones and computers will automatically be set to auto-focus so if you are using one of these, you have nothing to worry about.
3. Place your camera in landscape orientation: Let’s quickly define the difference between landscape and portrait orientation:
While portrait orientation does have its place, mostly in social media, landscape is the orientation we are after so please ensure your camera is set up this way and that your subject is framed nicely within the composition. If you need help remembering which way landscape is just think of your TV or a cinema screen.
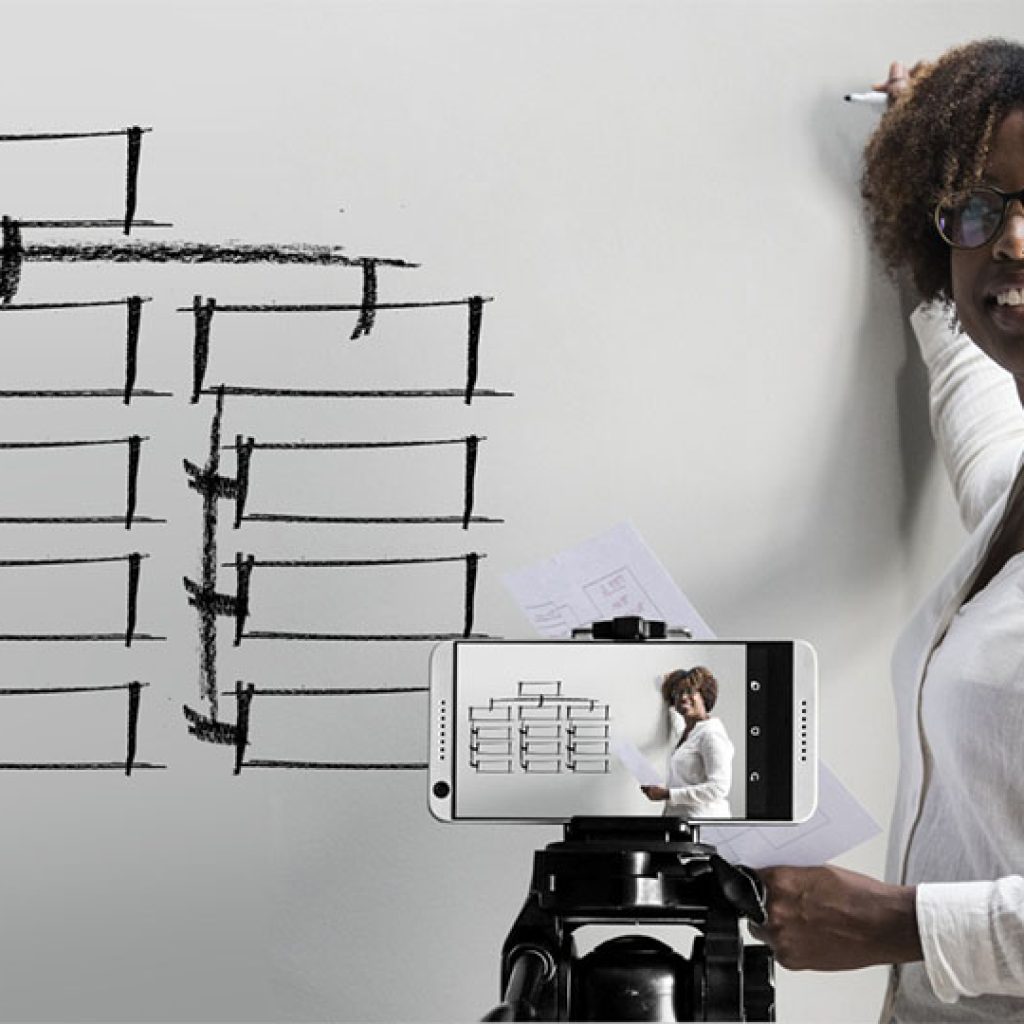
4. Position your camera on a sturdy surface: Ideally this is where you would be using a tripod and if you own a DSLR chances are you have one!
If not, we will be utilising nature’s tripod, that is any sturdy surface we can find. This could be sat on your desk leaning on a pile of books or against a monitor. Be inventive!
A still shot will dramatically increase the quality of your video and will be one less thing for you to worry about.
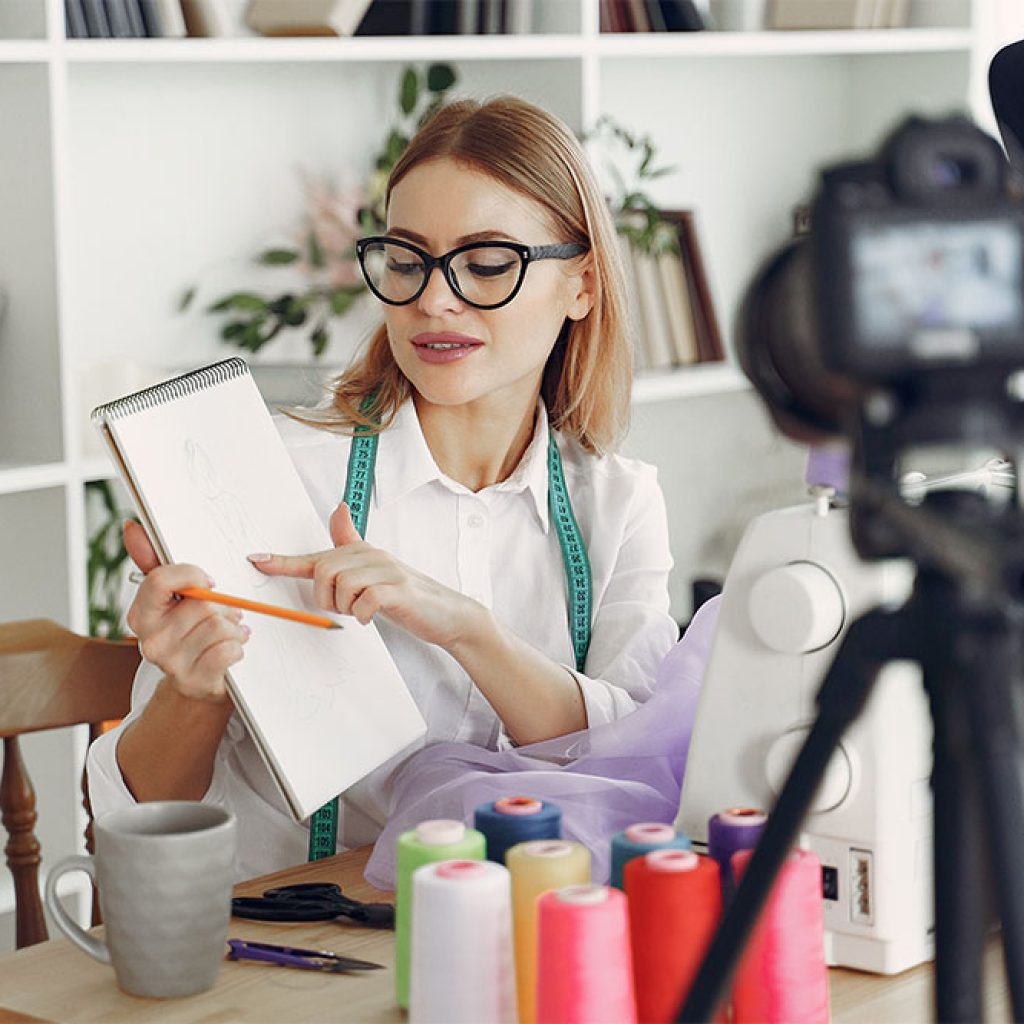
Have your notes near you and practice your delivery before you begin. The better you know what you are going to say, the better and more natural your delivery will be. Between takes read over your notes so what you’re about to say is fresh in your mind.
Finally, if you have to read your material during recording, tape it underneath the camera, ideally as close to the camera’s lens as possible. This way when you read, your eye line will still be approximately around the camera’s lens.
It’s time to begin, hit record, lean back into position, look at the camera, count to 3 and begin your delivery. You’ve got this!
When you’ve finished your take, continue looking at the camera for an additional 3 seconds, as this will make the edit easier.
If you have the time, it might be helpful to record multiple takes, this will help you get into the flow of it and will also give the editor more to work with.
In addition to the above, there is also the option of having a professional with you, to provide guidance during set-up and to direct you during the recording. If this is something you think would be beneficial we can organise one of our experienced staff to give you a video call.
That’s it, thanks for reading!
You now have all of the information you need to self-shoot your video, and once you have that, why not let our expert editors cut and polish your video into a professional final product. Delivering your footage is easy and safe with our secure FTP site.
We offer no-obligation, free quotes and are always happy to discuss concepts.